How to Install Ghost Locally?
Learn how to install Ghost on your computer with just a few steps. Perfect for getting to know Ghost, testing themes and building your website before going live.

If you’re a writer, blogger, or indie publisher looking to build your own site, Ghost is one of the best tools out there. It’s fast, open-source, and designed for content-first publishing. In this guide, we’ll walk you through how to install Ghost on your own computer so you can test everything locally — themes, posts, settings — before going live.
What is a CMS?
A Content Management System (CMS) is the software that powers your website — it connects the back-end (server) with the front-end (what visitors see). You’ll use it to publish posts, design your site, and manage your content.
You have a ton of choices. The most popular and common is Wordpress, but it's outdated and slow. On the other end of the spectrum are newer platforms such as Medium and Substack, but you're not independent using them.
Ghost, on the other hand, is a project that focuses on the basics - producing quality content. But it also has some features that other lack, such as support for memberships, customization and built-in email newsletters. It's also open-source, which means it's publicly available to all.
This is good news for us since it means we can install it anywhere.
Setting up a local Ghost environment
The best way to start and get familiar with it is by installing it on your computer. This will not publish your publication anywhere, it will just sit comfortably on your computer, while having access to all of its features.
- You’ll need Node.js installed on your machine. Ghost currently recommends Node v20. Once installed, you’re ready to move on.
- Next, install Ghost CLI. With this step, we install a "command-line interface". This allows your computer to recognize Ghost commands when you type them into your terminal (command line on Windows). Open your terminal or command line and type the following line:
# Install Ghost CLI (this is just a comment, ignore it)
npm install ghost-cli@latest -g
That's it, you're done with the prerequisites.
Now, we'll create a folder in the root directory of your computer (we'll call it myghost). This is the easiest way of accessing it, but you can create it anywhere you like. Once you create it, navigate into the folder and install Ghost locally. See the code below.
# Create a new folder
mkdir myghost

# Navigate into your folder
cd myghost

# Install Ghost locally
ghost install local
Wait until the installation process completes itself.
This is it, you installed Ghost on your computer! The installation will be at a localhost address, written out after the installation is complete (e.g. https://localhost:2368). Navigate to this address with your browser and create an account.
Every time you want to control your publication, you should navigate into the installation folder using the cd command. Below are the basic ghost commands that you need for your local installation:
# Start your server
ghost start

# Restart your server
ghost restart

# Update Ghost
ghost update

# For an overview of commands
ghost help
Designing your website before going live
You now see that there's a pre-built theme installed called Source. We can say it's a "model" theme for Ghost as it has all the features they offer. It's perfectly fine to start with, but there are also a lot of free themes available on Ghost's website.
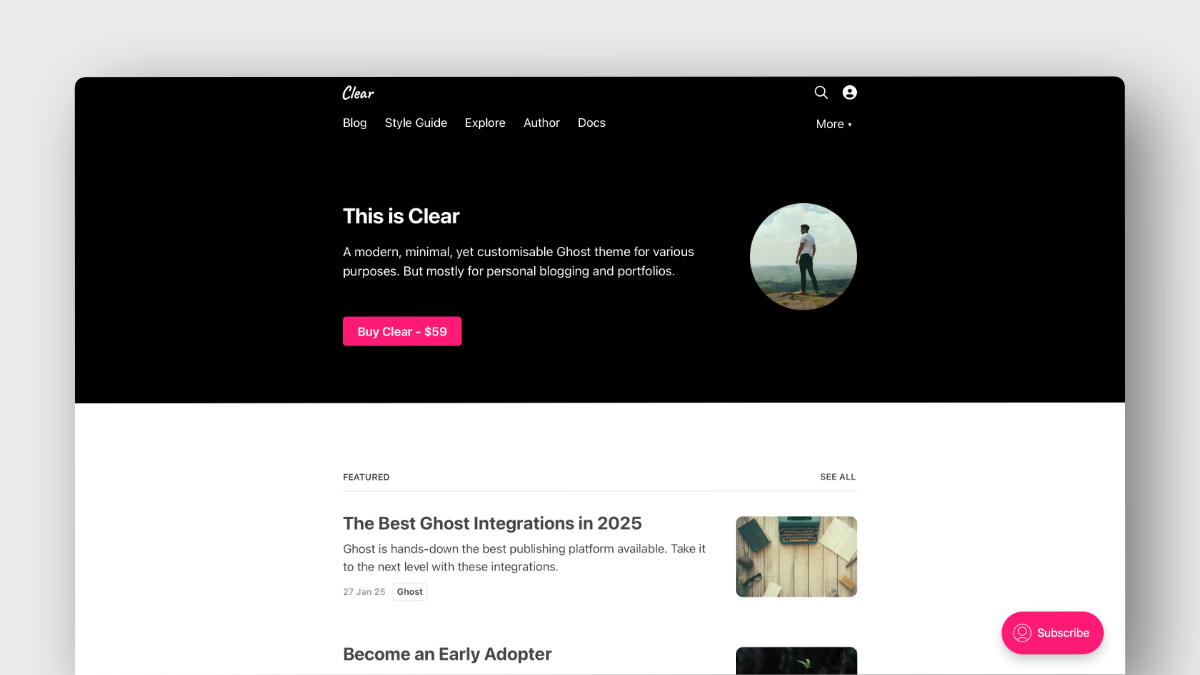
For a shameless plug, you can also try our theme, Clear 😊.

Clear
A modern, minimal, yet customisable Ghost theme for various purposes. But mostly for personal blogging and portfolios.
Configuring your website before uploading it is a great way to start. You'll see the changes live and decide what to include and what not to. You can also write posts, pages and everything else.
When you're done, you can head over to the "Labs" tab and export the whole thing. This export will include all your posts, pages, tags, members, and site settings — but not themes or images. You’ll need to upload those manually later.
Hosting options
Of course, before you actually go live, you have to decide where to host your blog. There are a few options:
- Your own server. This is by far the most advanced and complicated, but you're in complete control. Sounds intimidating, but we offer a straight-forward tutorial.
- Official Ghost hosting. Starts at $9/month with some limitations. The Creator plan is pricier, but also most straightforward, safest, with all features.
- Third party. Usually a little cheaper compared to official hosting, while also offering more features. Examples are Magic Pages, Midnight, Gloat or DigitalPress.
Summary
- A CMS powers your website and helps you manage your content.
- Ghost is fast, open-source, and built for serious publishing.
- Install it locally to explore themes, settings, and features risk-free.
- Choose a hosting option when you're ready to go live.